This month ODBD is asking for thank you cards. I think this will be the last one where they send in funds to support OWH, since August 1st is the deadline for all the rest of our cards to be to Sandy. Such bittersweet feelings about OWH declaring Mission Accomplished. Let's pray more and more come home from overseas until no one is left in a combat zone!
Here's one I copied from an on line stamping friend, Cherie Caldwell. Hers used a stencil, but I had this hexagonal stamp set from SU! and figured I could make do with that. I think it turned out pretty good. Five more for my last box for OWH.
Tuesday, July 14, 2015
Monday, July 13, 2015
July, back from vacation and I sure missed my craft table. And the infamous Purple Bra story.
Trying to finish up big with OWH and stuffing in some more cards for my box to Sandy. I think I'll probably finish up this week and send it off. I'm going to miss this, but think I might try out Operation Gratitude. My friend on Seongsook's Stampers, Adele, makes cards and crochets scarves for this group. She also volunteers with a local group down in her area (she lives in southern CA). I must check and see if there is a local group up here. I know I'll find something else. In any event, I can sent my stuff to her to donate there if nothing else.
And meanwhile, I'm filling up my stash of cards to have on hand so no one is missed on their birthdays or other events ever again! That's my story and I'm sticking to it.
I hadn't used this set yet, but thought it would be perfect for a birthday card.
One of the napkins used as the underlaying mat on this coffee themed card.
SU! images, sentiment, paper and inks.
The flourishes under the flowers are Hero Arts.
Cora asked for a Salty Dog, so I found this image on the inter webs and couldn't resist making a card for her.
I CASE'd Tracy's card from the SU! card party last month and used some of my own Washi tape. I need to make more, I have a bazillion rolls of the stuff. :)
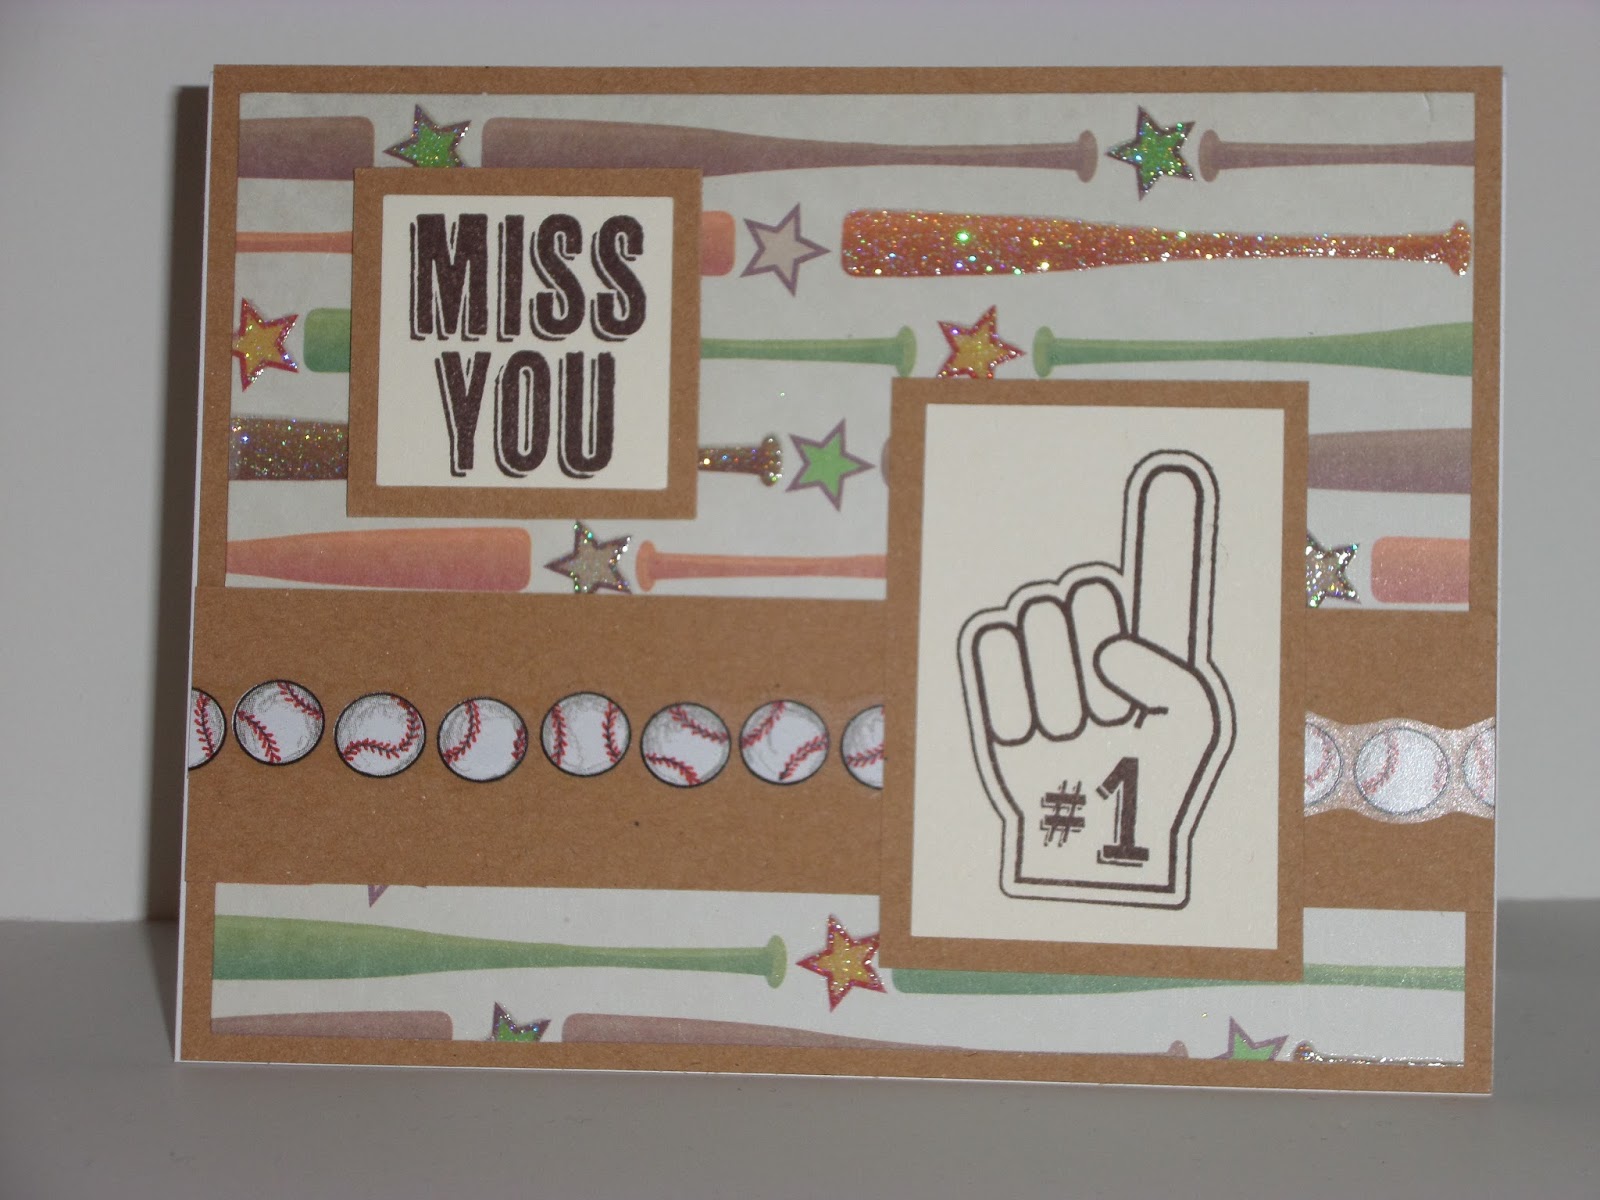
Some quick cards for my OWH box. Great baseball paper, huh? The line of baseballs on the kraft strip is a sticker.
LOVE the boys of summer, Go Mariners!
This is some great paper I found in my stash and the beach ball image is from an old CTMH set. The sentiment is from an OWH fund raising set by Hero Arts "Dude". Ribbon is SU!
Who says you can't mix lines? I do it all the time.
~~~
And the piece de resistance:
The famous purple bra. In our stamping group, one of the ladies mentioned how when she was at her computer, a spider swung down right in front of her screen and rather than panic, she smooshed it with her purple bra that was handy. LMAO. Of course, that has generated at least 2 bra cards in our group so far. I made this one and sent it out to several friends. The sentiment is computer generated.
I mean, what's a friend for if not to smoosh spiders for you, huh? Or at least offer a bra.
I'd do it for you. OXOX
Finishing up cards before our vacation starting on the 28th.
I noticed now that I'm sending birthday cards to lots of folks, I need to make more to have on hand. I love this, though, don't get me wrong. It's fun sending mail...and getting mail. God bless the USPS.
Here are some more for my stash and 5 for my OWH box.
June SU! Card making party.
Several of us got together for another fun filled afternoon June 18 at Leonardo's Pizza's back room making cards using Tracy's SU! products. We always have a lot of fun getting inky...and sharing giggles. I really like these designs and you will find I CASE'd a few for cards for my last box to OWH.
I have this set and this gives me more ideas on how to use it. At first I thought that was Washi tape on the red striped and polka dotted strips coming down from the top, but those are stamps! The stars are stamped and cut out separately, then stuck on the card.
This one DOES use Washi tape. Cool, huh?
We embossed these pieces separately, but I made some later where I embossed the whole piece, then cut it into 3, then mixed and matched, and got 3 cards out of each embossed piece!
And, voila, some more for my birthday stash. I also used some glittery paper Tracy gave me last year that I could never use on OWH cards. (glitter is a no no when sending to the troops) The balloons are dies with small and large balloons. (I still have some glitter on my Cuttle Bug plate.)
This one will make a great card for any of those occasions one needs a Congrats sentiment. I think I'll switch up colors and make a baby card for my friend Cher who just became a Grandma for the 2nd time.
Stay tuned for more June hi jinx.
June Cards
It's been a lazy summer so far....well as far as posting things. But, it's been damn hot this summer. We have had temperatures in the 90s and low 100s in June, and that's just not right! Last night we had rain though, finally, and it's cooled off. Today it's in the 70s. That's more like it.
Here are some of the cards I made this month when I was staying in and staying cool.
Mickey Mouse Duct Tape.
Something old, something new....blue etc. for a challenge on SS.
Adding to my birthday card stash. The balloon cut outs were gifted to me by Sandy. There were a whole lot of cut outs and papers and great card making stuff she was giving away last summer at one of the card making parties.
I love this summer set by CTMH and had hardly used it before.
My new EK Success punch that I couldn't resist buying. I computer generated the sentiment.
This flower is a CTMH set. First you stamp the base, then over stamp with a darker color to make the flowers. Works great with a Stamp-a-majig. It's easy to see if you have clear stamps where you can see down through the block and the stamp, but I have many that are red rubber and without something like this, or a Misti, you have to guess where your stamp is, and mostly that doesn't work out so well. :)
Using up some wonderful nautical paper and stamp sets for my last box of cards to OWH.
The fabric on this is some wonderful ribbon I got at Peddler's Pack. I cut it, then frayed the fabric.
I stamped the "thoughts" on a separate piece, cut it out and popped it up. I love the sheer ribbon on this.
Stay tuned for more card making fun. Well for me, anyway.
Thanks for stopping by.
Wednesday, June 3, 2015
Napkins are AWESOME!
Our May challenge was suggested by Ronni Unger, to make a card using a pretty napkin and Mod Podge for the background or focal point. In our stampers group we've been having fun sending napkins to each other and going to the Dollar Tree or Tuesday Morning or the Party Store to search out pretty napkins. Holy cow, hardly any two are alike. Here are some cards I made using napkins and I still have a stack of pretty napkins to peel apart and stick down to card stock with the glue.
Here's what you do:
-Peel off the top layer of the napkin. They are 2 or 3 layers thick, really.
-"Paint" or smear the Mod Podge on card stock with your finger. A foam brush works really well.
-Lay down the napkin and smooth it out. Or smooch it up, it makes for nice texture with wrinkles.
-Paint a layer of MP over the top. Some added glitter to the top layer at this point mixed into the MP. It dries clear and the glitter shines through. I tried pouring glitter over the top after the last layer of MP and it was not a success. Later Pete asked me why I had glitter on my forehead. Some of the ladies embellished with glittery stuff after it had all dried too.
-Let dry. Overnight worked well for me.
-Cut up and use for card fronts!
There are other techniques for making napkin cards, check Google for "napkin cards". Some use fusible interfacing, some use irons with plastic wrap, but I didn't try those. This one worked well and I could get all messy!
Here's what you do:
-Peel off the top layer of the napkin. They are 2 or 3 layers thick, really.
-"Paint" or smear the Mod Podge on card stock with your finger. A foam brush works really well.
-Lay down the napkin and smooth it out. Or smooch it up, it makes for nice texture with wrinkles.
-Paint a layer of MP over the top. Some added glitter to the top layer at this point mixed into the MP. It dries clear and the glitter shines through. I tried pouring glitter over the top after the last layer of MP and it was not a success. Later Pete asked me why I had glitter on my forehead. Some of the ladies embellished with glittery stuff after it had all dried too.
-Let dry. Overnight worked well for me.
-Cut up and use for card fronts!
There are other techniques for making napkin cards, check Google for "napkin cards". Some use fusible interfacing, some use irons with plastic wrap, but I didn't try those. This one worked well and I could get all messy!
Fun, fun, fun.
~
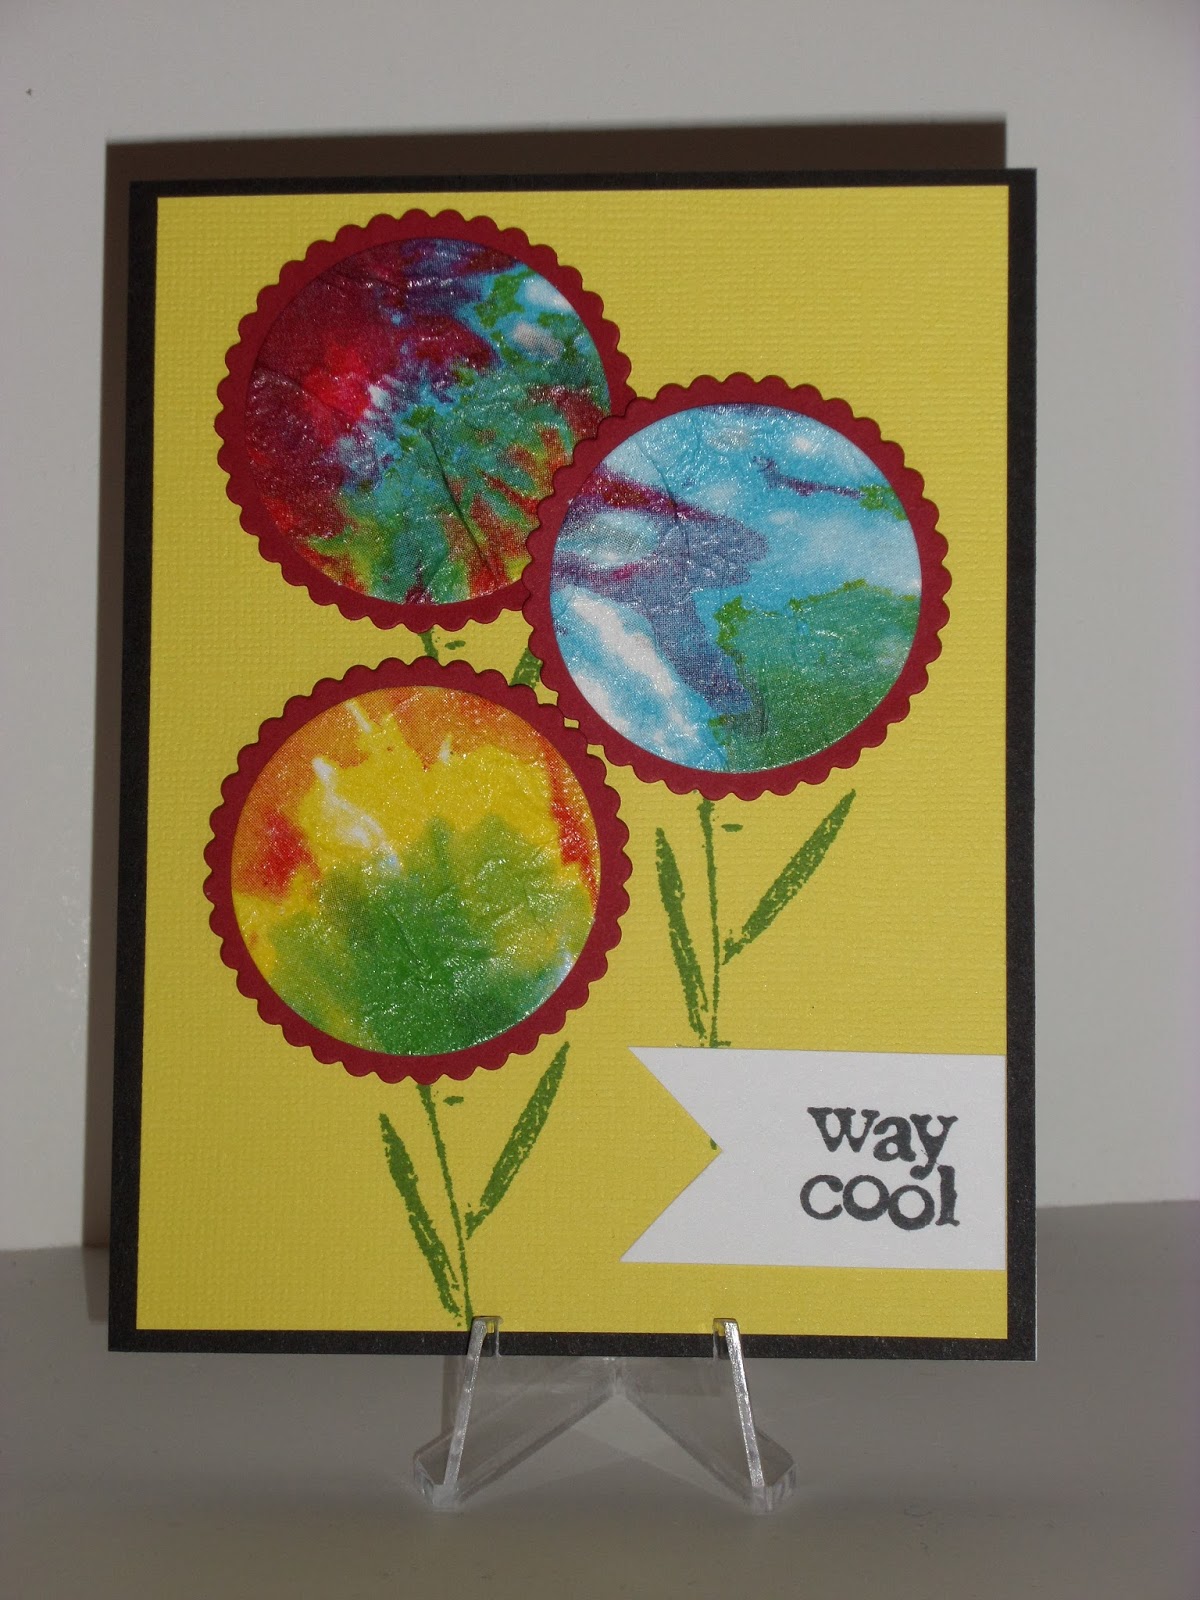
Tie dyed napkins from Bonnie Clark.
That's two toned ribbon in the middle and I thought it looked tie dyed too. I computer generated the sentiment and had this left over from an earlier card making project.
~
I used a paisley embossing folder for the green background here. Yeah, paisley was groovy in the 60s and 70s. Flower power, man.
~
~
These were napkins I bought at the Dollar Tree. The Eiffel Tower, the Iris and the butterflies were all on one napkin that I just cut apart. Lovely with the French script too.
~
This gorgeous one came from Ronni Unger.
~
There will be a lot more of these later. I still have a stack of napkins! Summer theme, flamingos, birthday balloons, coffee, naughty girls. Oh the fun I'll be having.
Subscribe to:
Posts (Atom)